Multiple tests sessions involve taking multiple tests of the same delivery preference in a single testing session. In contrast, single test sessions enable the organization of a single test in a single testing session.
This article aims to provide a comprehensive guide on creating a single test session using two possible methods: through the testing session dashboard or directly through the test dashboard. Additionally, it will demonstrate how to manually assign candidates to the session.
Creating a single test session #
Test dashboard #
To create a single test session through the test dashboard, navigate to Tests, and select Manage tests.
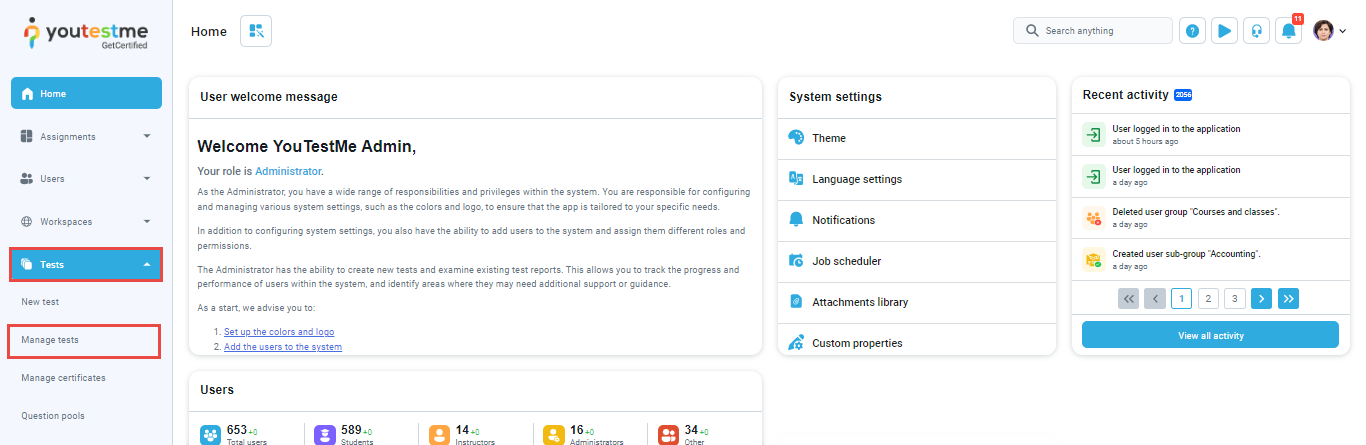
Click on the name of the test for which you want to create a single session.
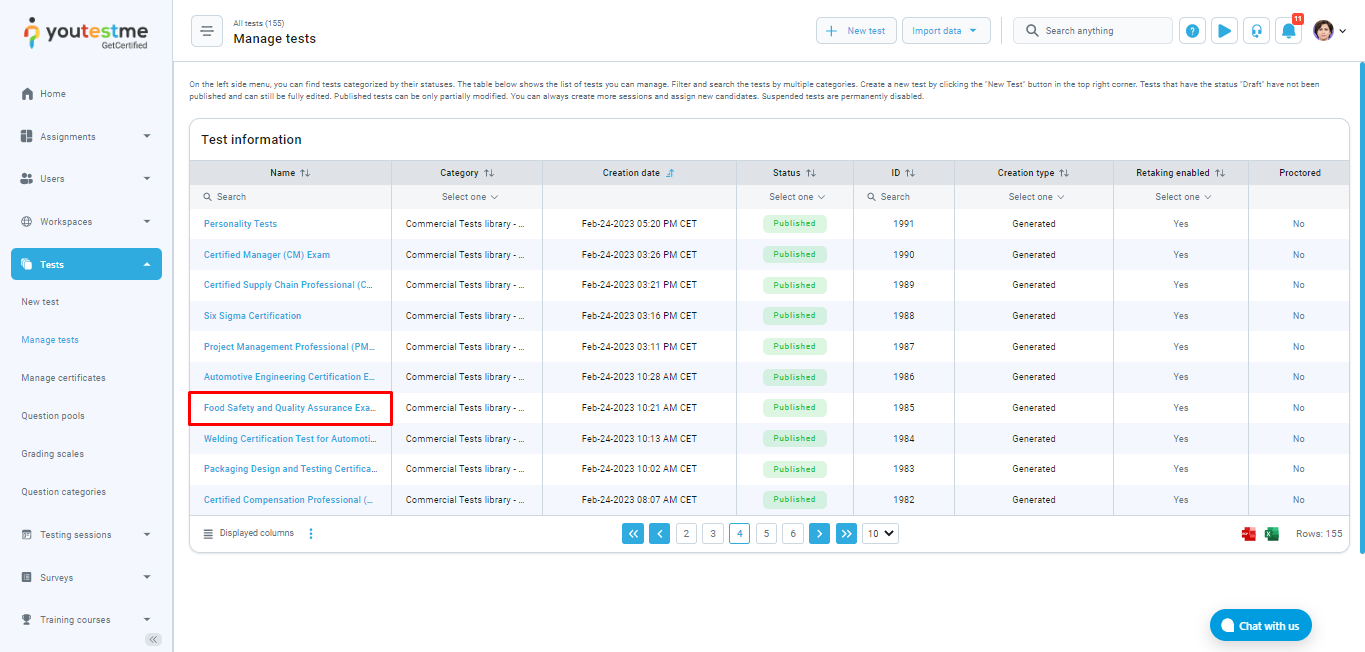
On the Testing session tab, click the New testing session button.
A pop-up window to configure the session will appear. More information can be found in this article’s Configuring single test session chapter.
Testing session dashboard #
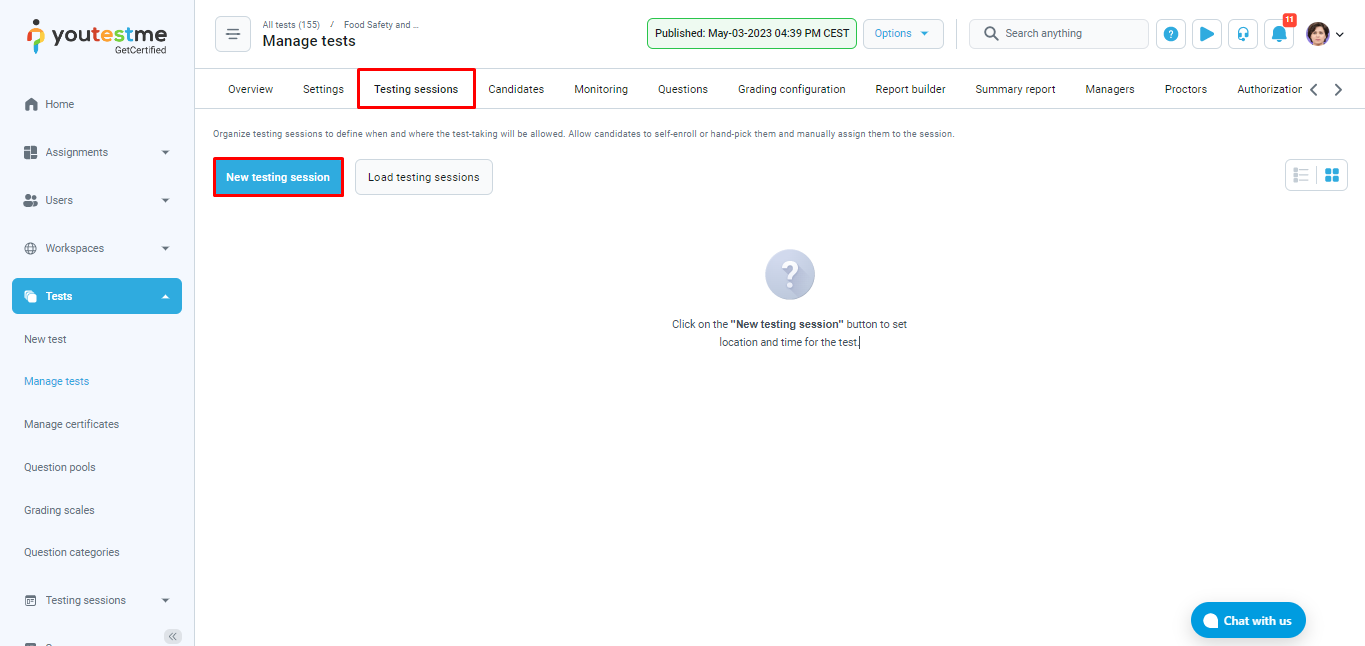
To create a single test session through the test dashboard, navigate to the Testing sessions tab in the left-side menu and click on the Manage testing sessions tab.
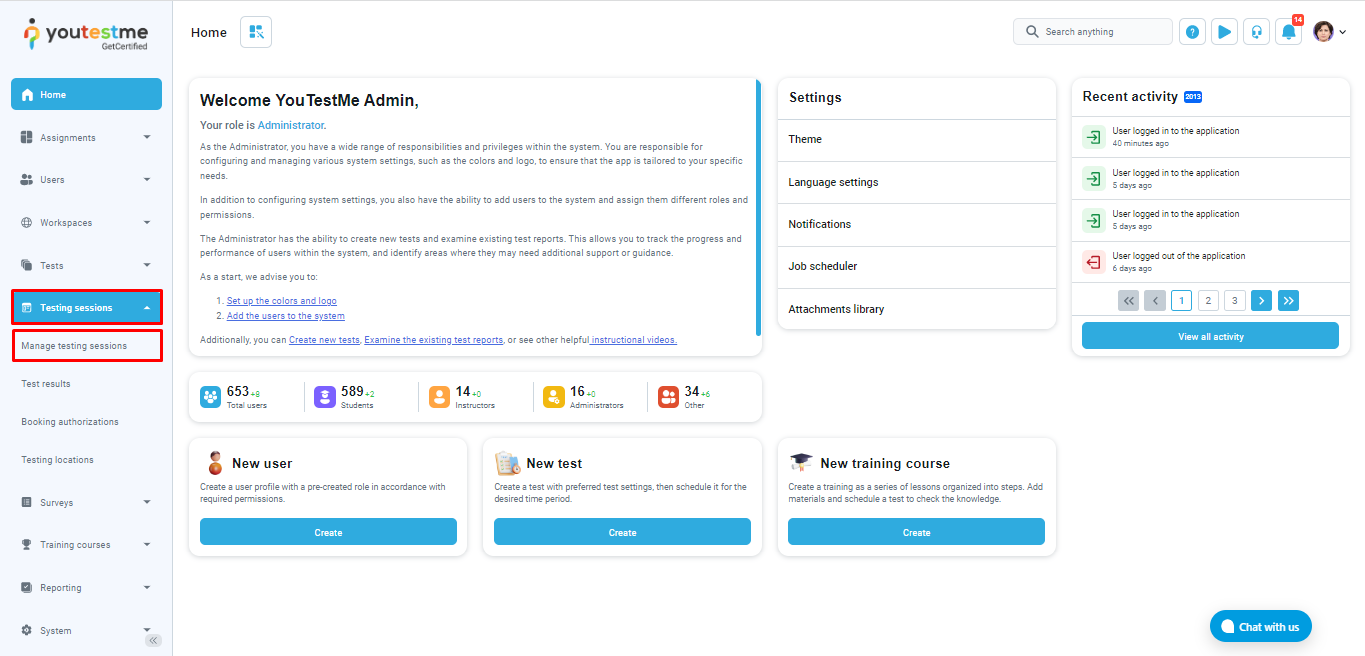
In the top right corner, click Create and select Single test session.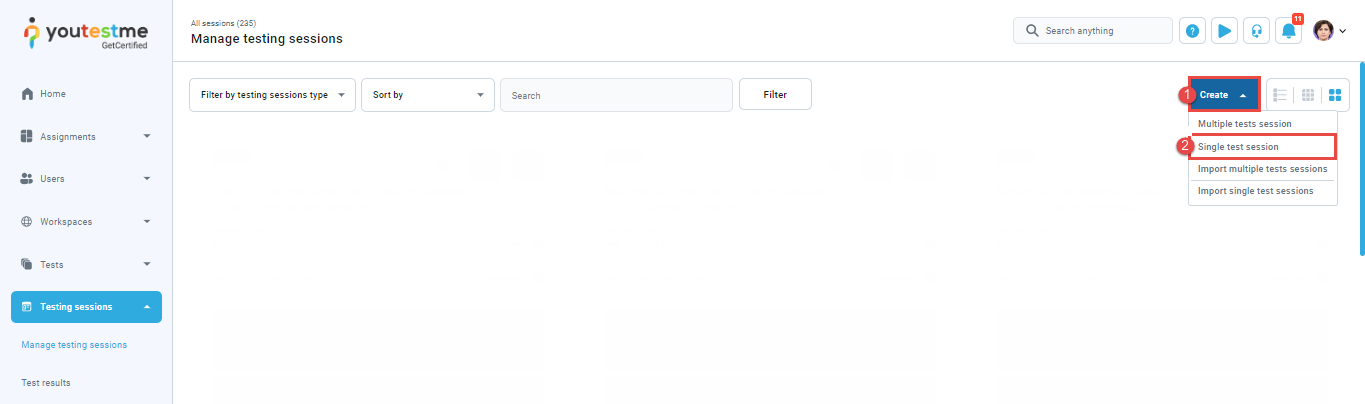
A Create single test session pop-up window will appear, offering you to select the test for which you want to create a single session.

After selecting the desired test, click Save, and a pop-up window to configure the session will appear.
Configuring single test session #
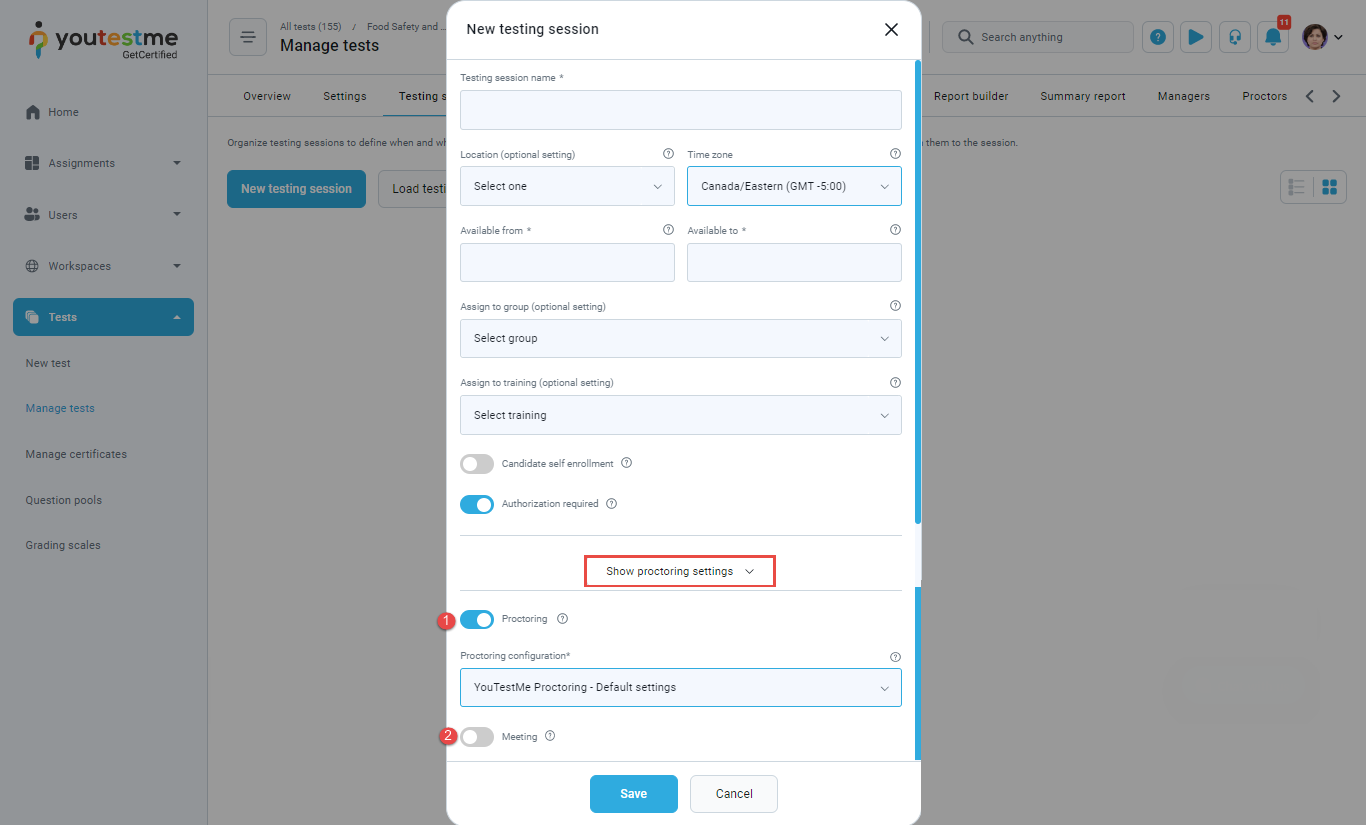
To configure the single test session, follow the next steps:
- Enter the session name.
- Choose a previously created location (optional). Each location can either be a physical room or a virtual space with a pre-defined time zone, offering improved organization of testing sessions. For more information, please read the How to create a new testing location article.
- Choose a room (optional) – You can add a session room description to better define the session’s physical or virtual location.
- Enter the start date – define from when the test will be available to start for taking.
- Enter the end date – define the time until which the test will be available to start.
- Assign to group – Once you assign the user group to the testing session, only its members can be added to it.
- Candidate self-enrollment – If this option is enabled, users can book, purchase, or start the test independently without needing the manager to assign them manually. If you want to assign candidates manually, leave this option disabled.
- Authorization required – If this option is enabled, only those users who have authorization for the test within the testing session will be able to book or start it.

Show proctoring settings (optional) – If you click on this button, the following options will appear:
- Proctoring – If this option is enabled, a proctoring mode for this session will be applied.
- Meeting – If this option is enabled, the candidate will have to join the live meeting before starting the test. Once the candidate joins, the proctor should allow them to start the test. The system can automatically create the Webex meeting, or the proctor can provide a link to the other meeting host.
Show additional settings (optional) – If you click on this button, the following options will appear:
- Locked (optional) – If this option is enabled, the candidates will be able to start the test within this session only by entering the password.
- Additional instructions (optional) – Field for adding additional instructions for the session. If the session is private (self-enrollment option disabled), use the previously created additional instructions template for private testing sessions. For more information, read this article.
- Guest access permitted – If this option is enabled, unauthorized users can take the test via the guest access link. The system will automatically delete the guest user profile when the user signs out or when the session expires. This option is recommended for dummy tests that serve to familiarize users with the test-taking process.
- Enter the External ID of the location used in external systems (optional).
- Enter the External name of the location used in external systems (optional).
- Data source – Name of the external system (optional).
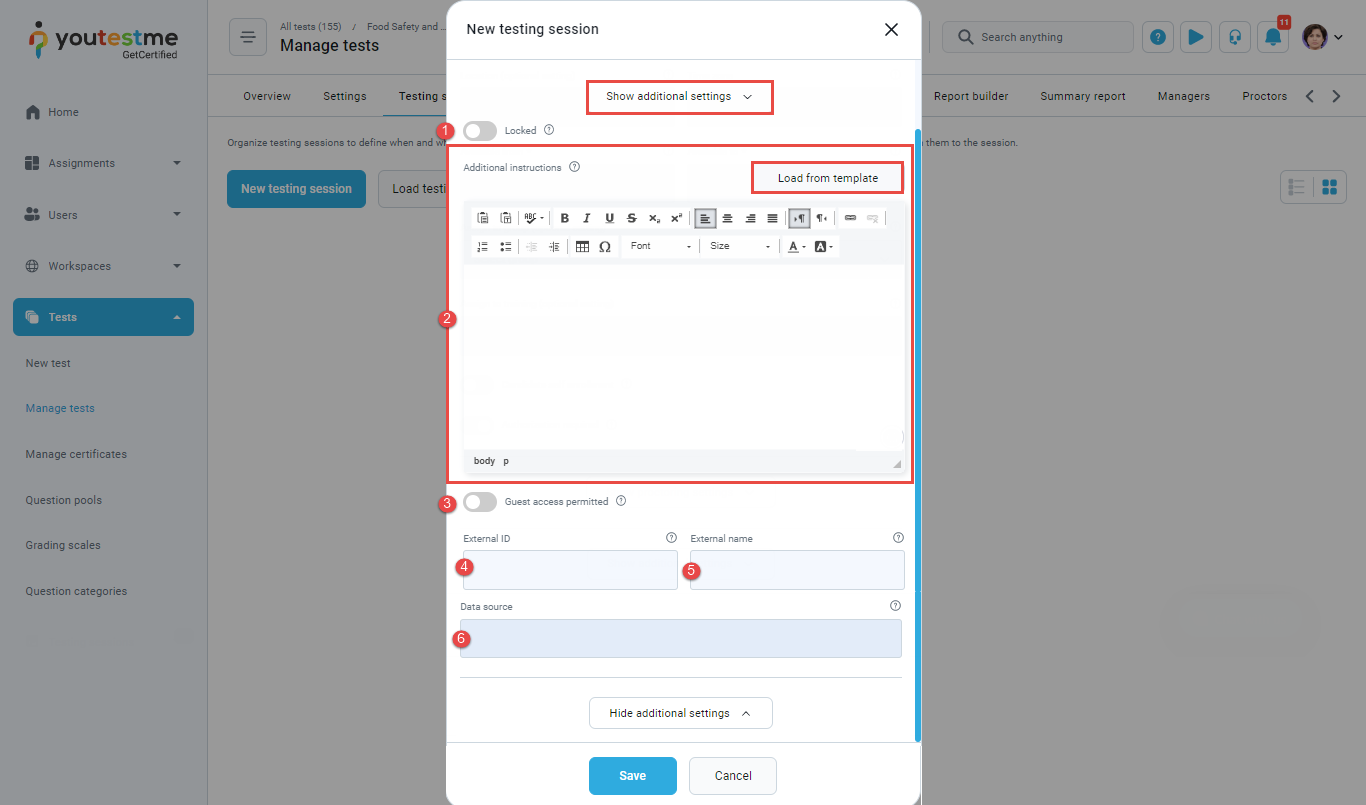
Click the Save button, and the single test session will be created.
Assigning candidates manually to the testing session #
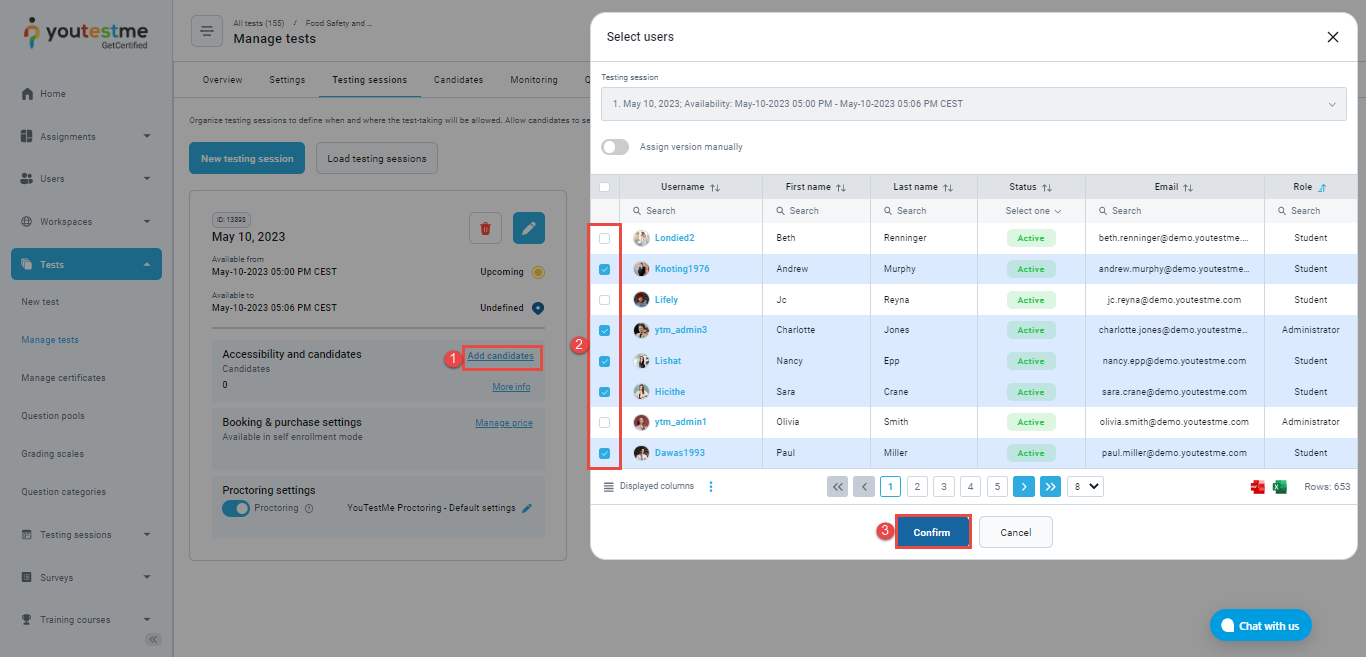
To add candidates to a previously created single test session, you should follow the next steps:
- Click Add candidates
- Select candidates
- Click Confirm button
Use cases #
Adding authorized candidates only #
In this chapter, we will cover a special case with the following characteristics:
- Only candidates from a specific user group can be added to the testing session. Therefore, the desired group should be added in the Assign to group field. More information on how to create a user group can be found in this video.
- The candidates cannot book themselves into the session, meaning that the session should be private. Therefore, the Self-enrollment option should remain disabled.
- Only authorized candidates can be added by the test manager to the session. Therefore, the Authorization required option should be enabled.
- The proctor monitors the session in real time. Therefore, the Proctoring mode option should be enabled, and the delivery preference of the test should be set to Online live-proctored.
- Since the session is private, the previously created additional instructions template for private sessions should be used. More information can be found in this article.

When configuring a testing session in the manner described above, the test manager will be presented with a list of candidates who are members of the appropriate group and have the authorization to take the test when adding candidates to the session.
Additional materials #
For more related instructional materials, please visit:
