This article explains creating a test proctored with Proctorio, an automated proctoring tool integrated with YouTestMe GetCertified. This integration ensures the total learning integrity of every assessment using state-of-the-art technology. It eliminates human error, bias, and much of the expense associated with remote proctoring and identity verification. The system automatically monitors the test attempt using behavioral trackers and records the entire process, marking the moments of suspicious behaviors. Once the exam is finished, the system stores the exam footage for subsequent human review and validation.
Configuring Proctorio Settings #
Before creating a test, you should customize the proctoring settings.
- From the main menu, choose “System” and select “Integrations“.
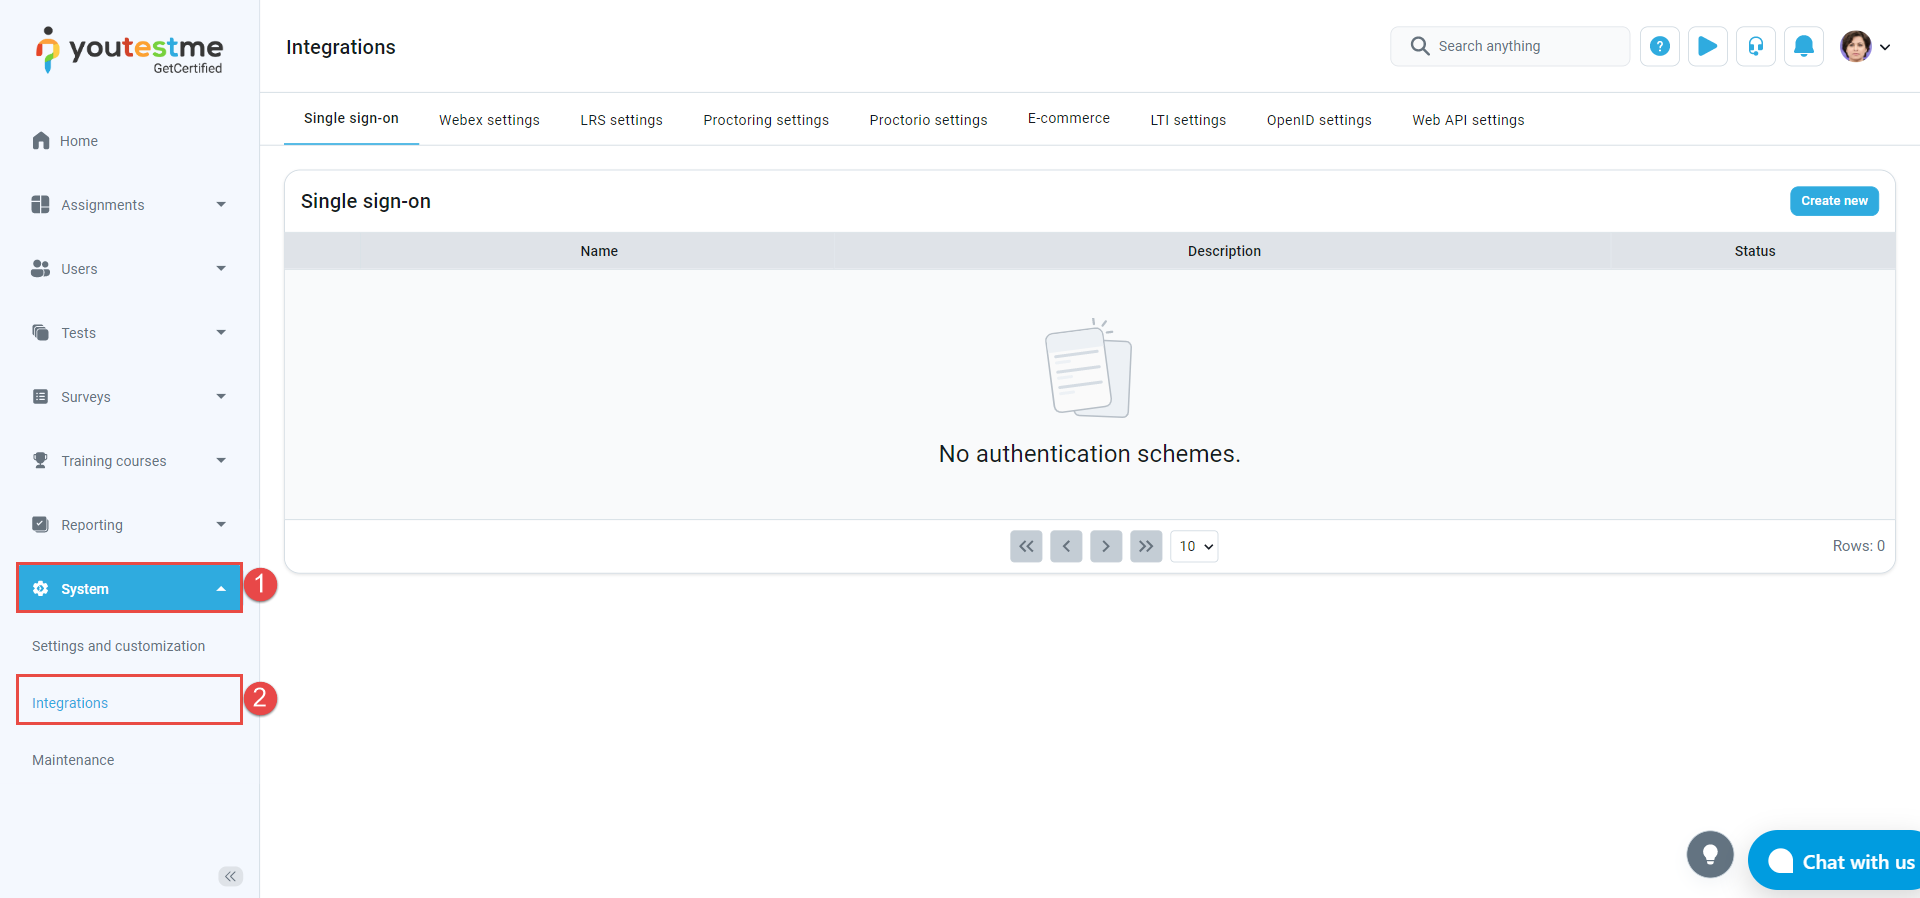
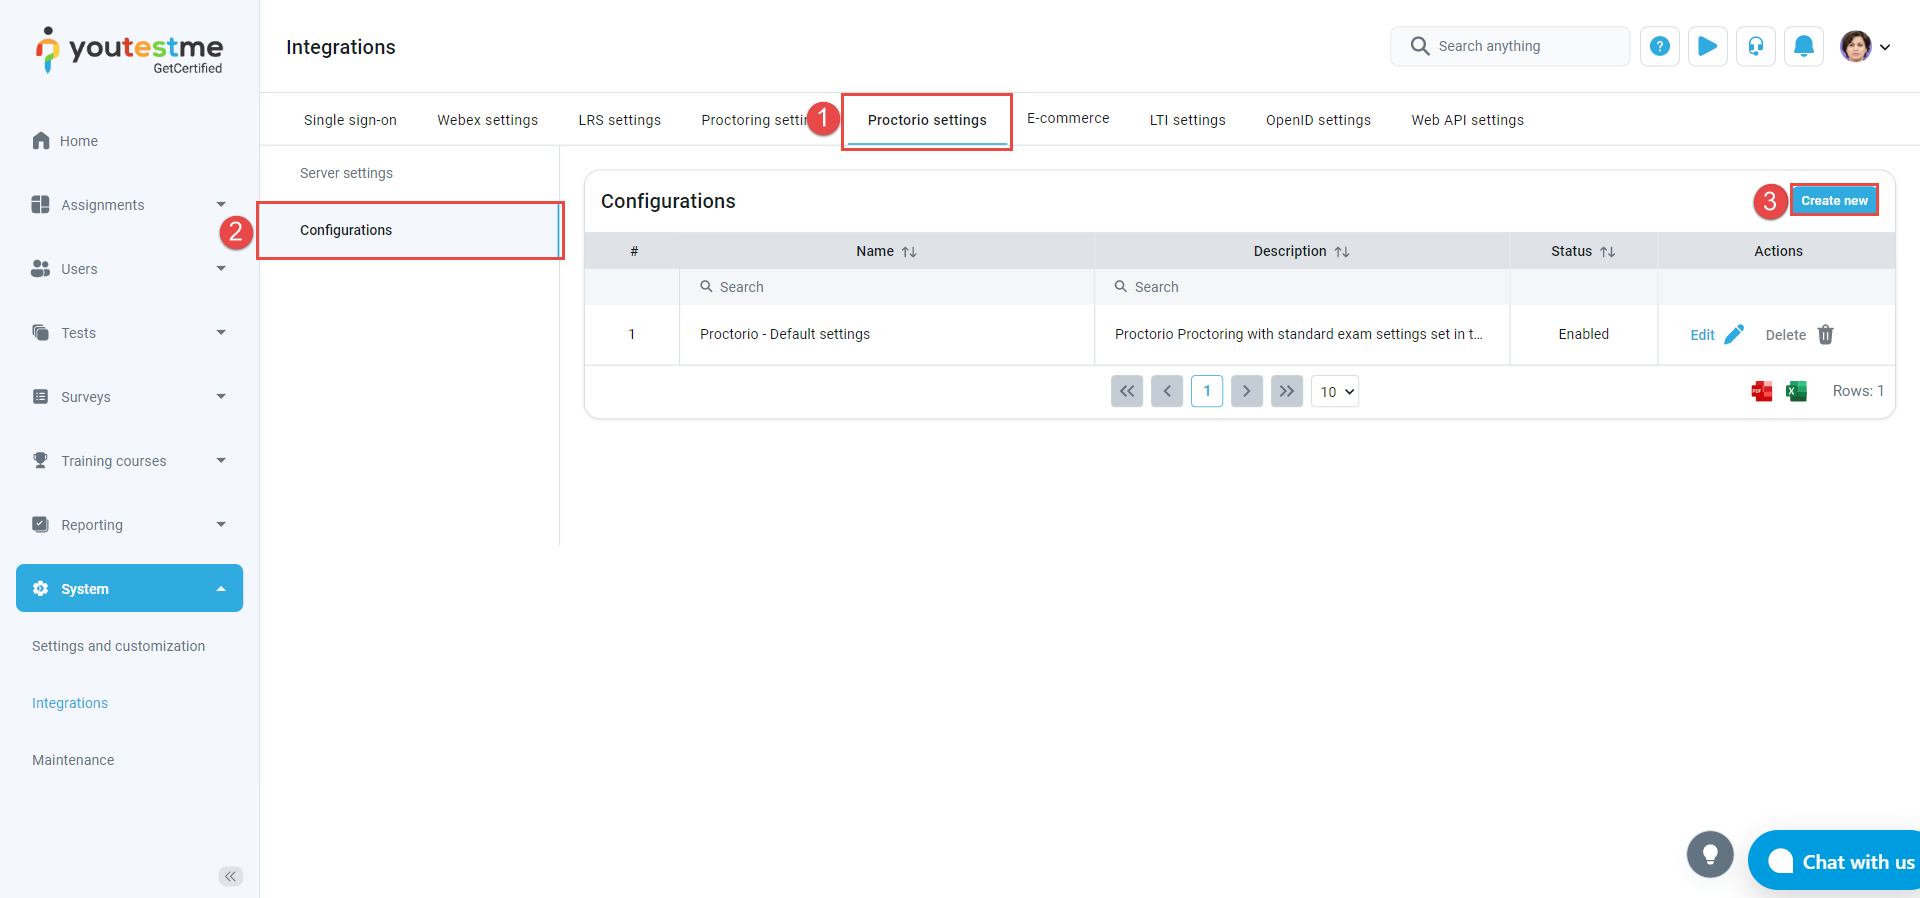
- Navigate to the “Proctorio settings” tab.
- Choose the “Configurations” option.
- Click on the “Create new” button to create custom Proctorio settings.
- Name the new Proctorio configuration.
- Add a description.
- Click on the “Exam settings” field to choose the desired settings for your proctored exam.
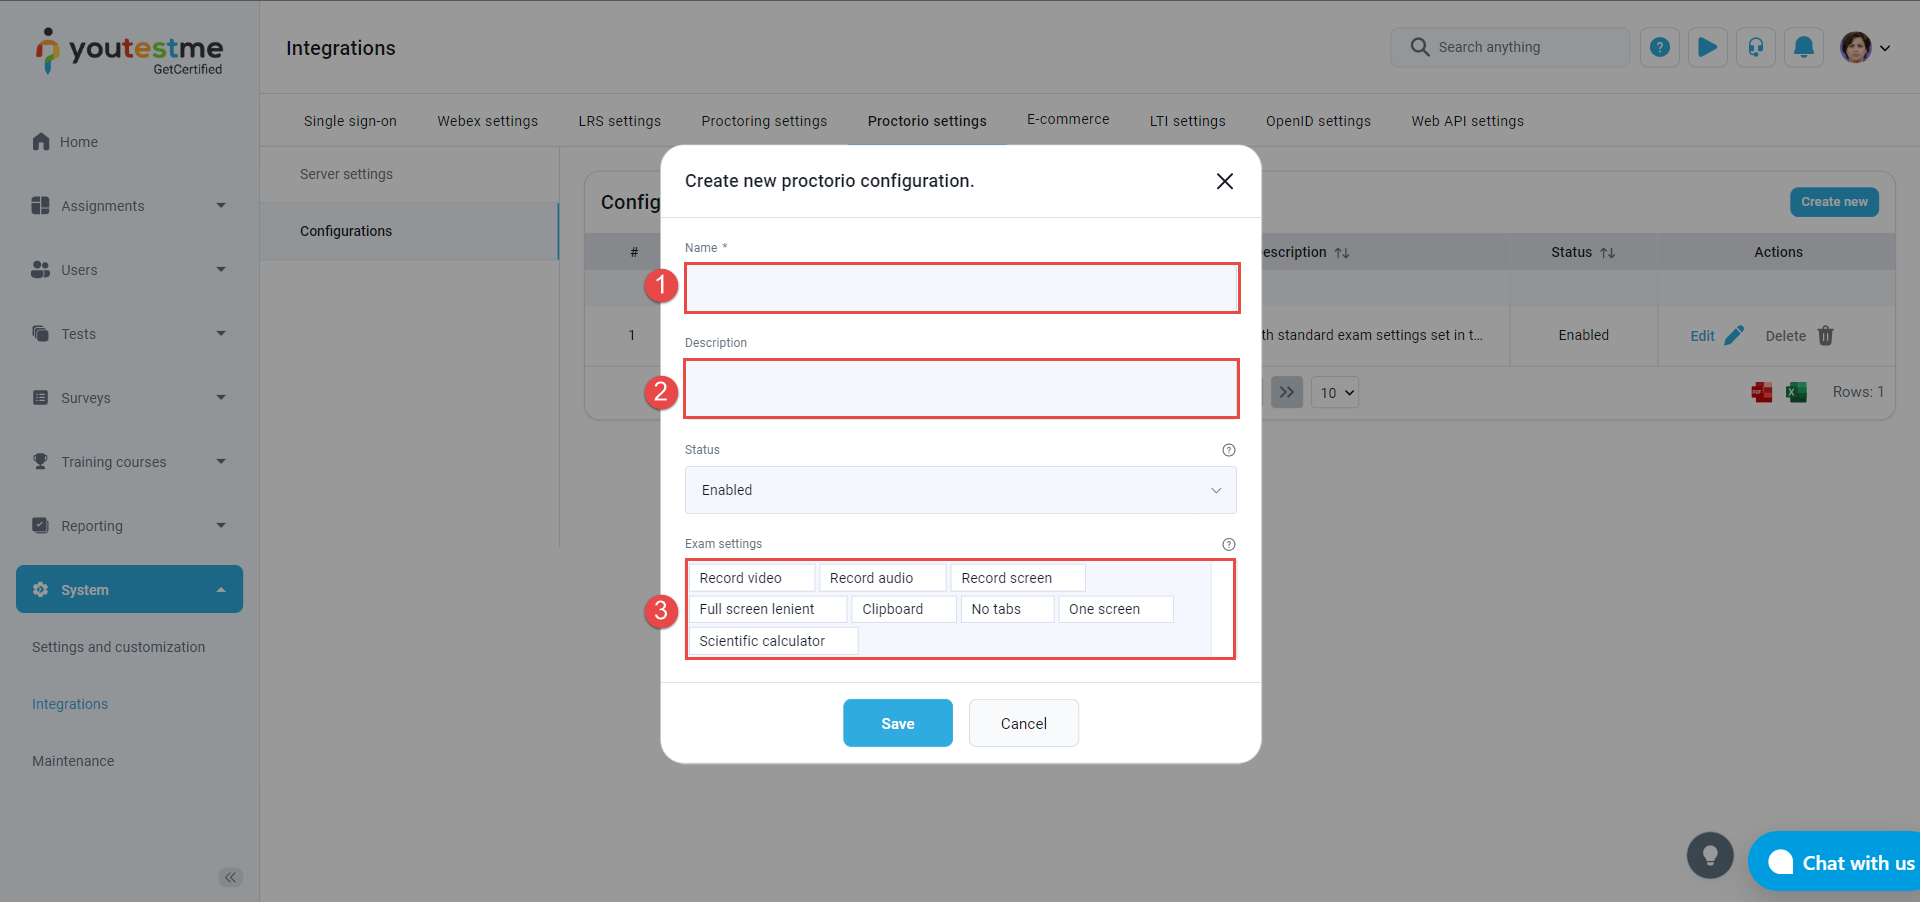
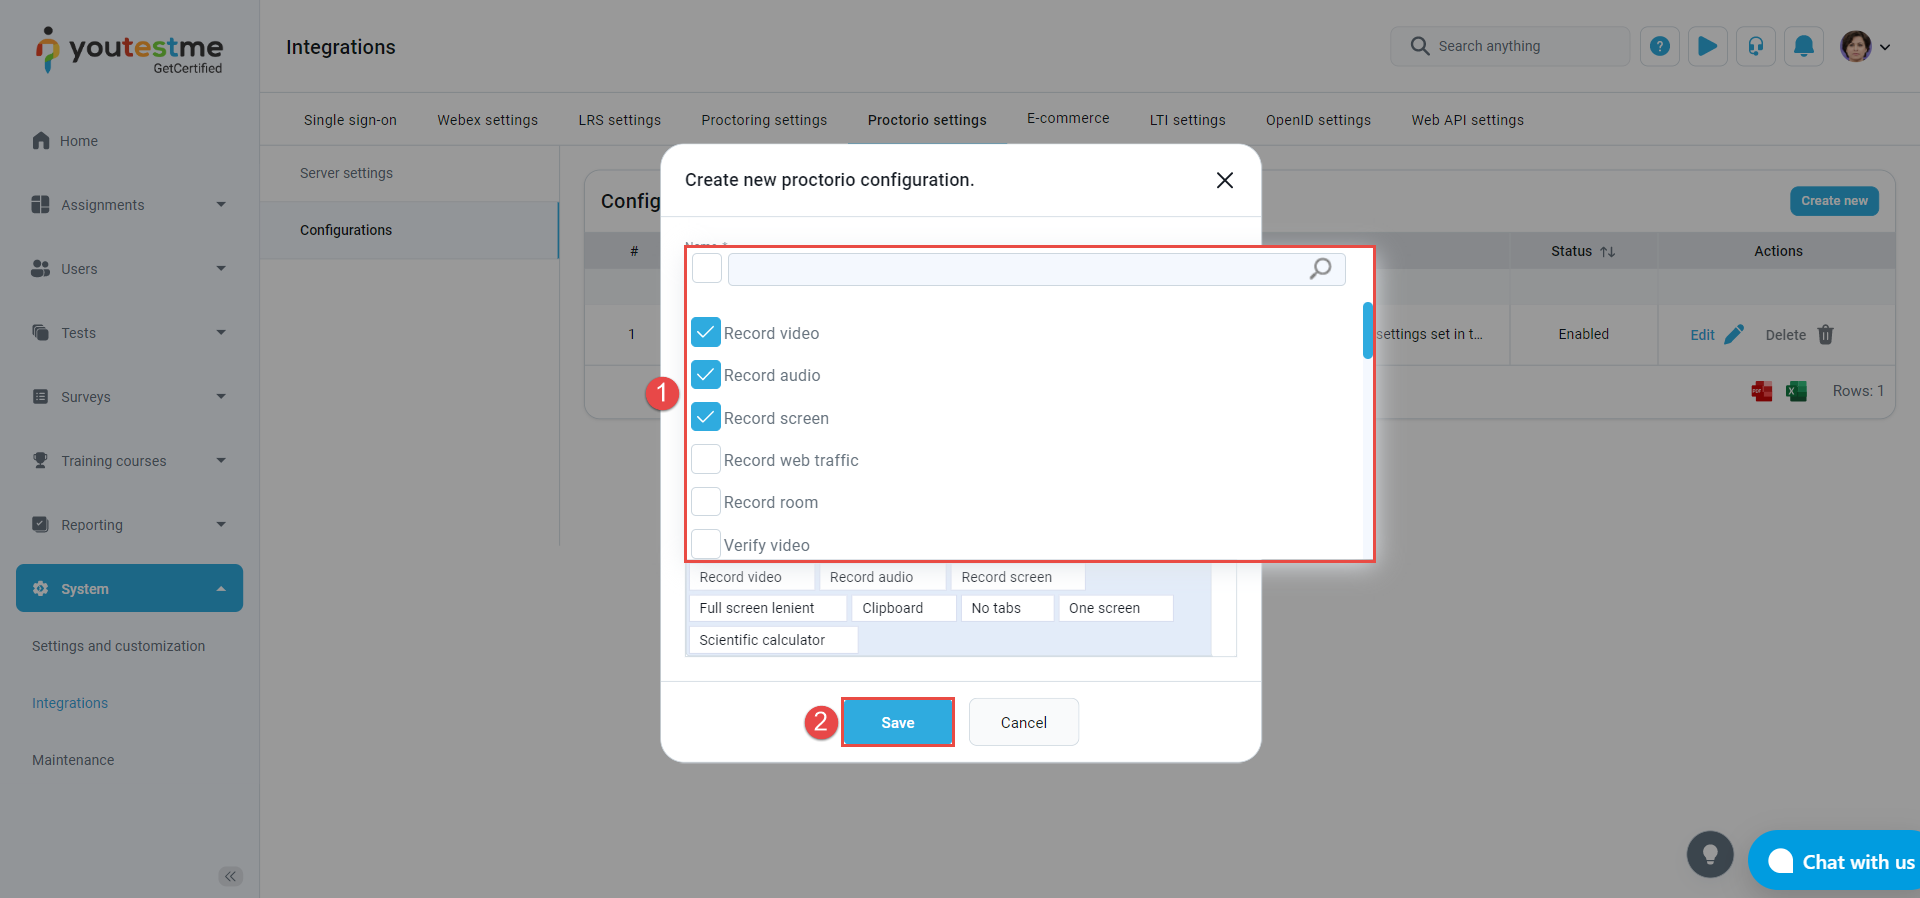
- Check the box for any desired configuration that you want to add.
- Click on the “Save” button to add the new Proctorio configuration to your configurations list.
API endpoint, Secret & Consumer key are three integration parameters that should be filled in upon application delivery. If they are not, contact the YouTestMe support team.
Options such as Record video, Record audio, and the Record screen should always be turned on.
For stronger cheating prevention, we recommend turning on the Clipboard, Close tabs, One screen, Print, and Right-click.
For even higher security, enable Full screen, Verify id, and Room scan.
Using the Proctorio configuration in a test #
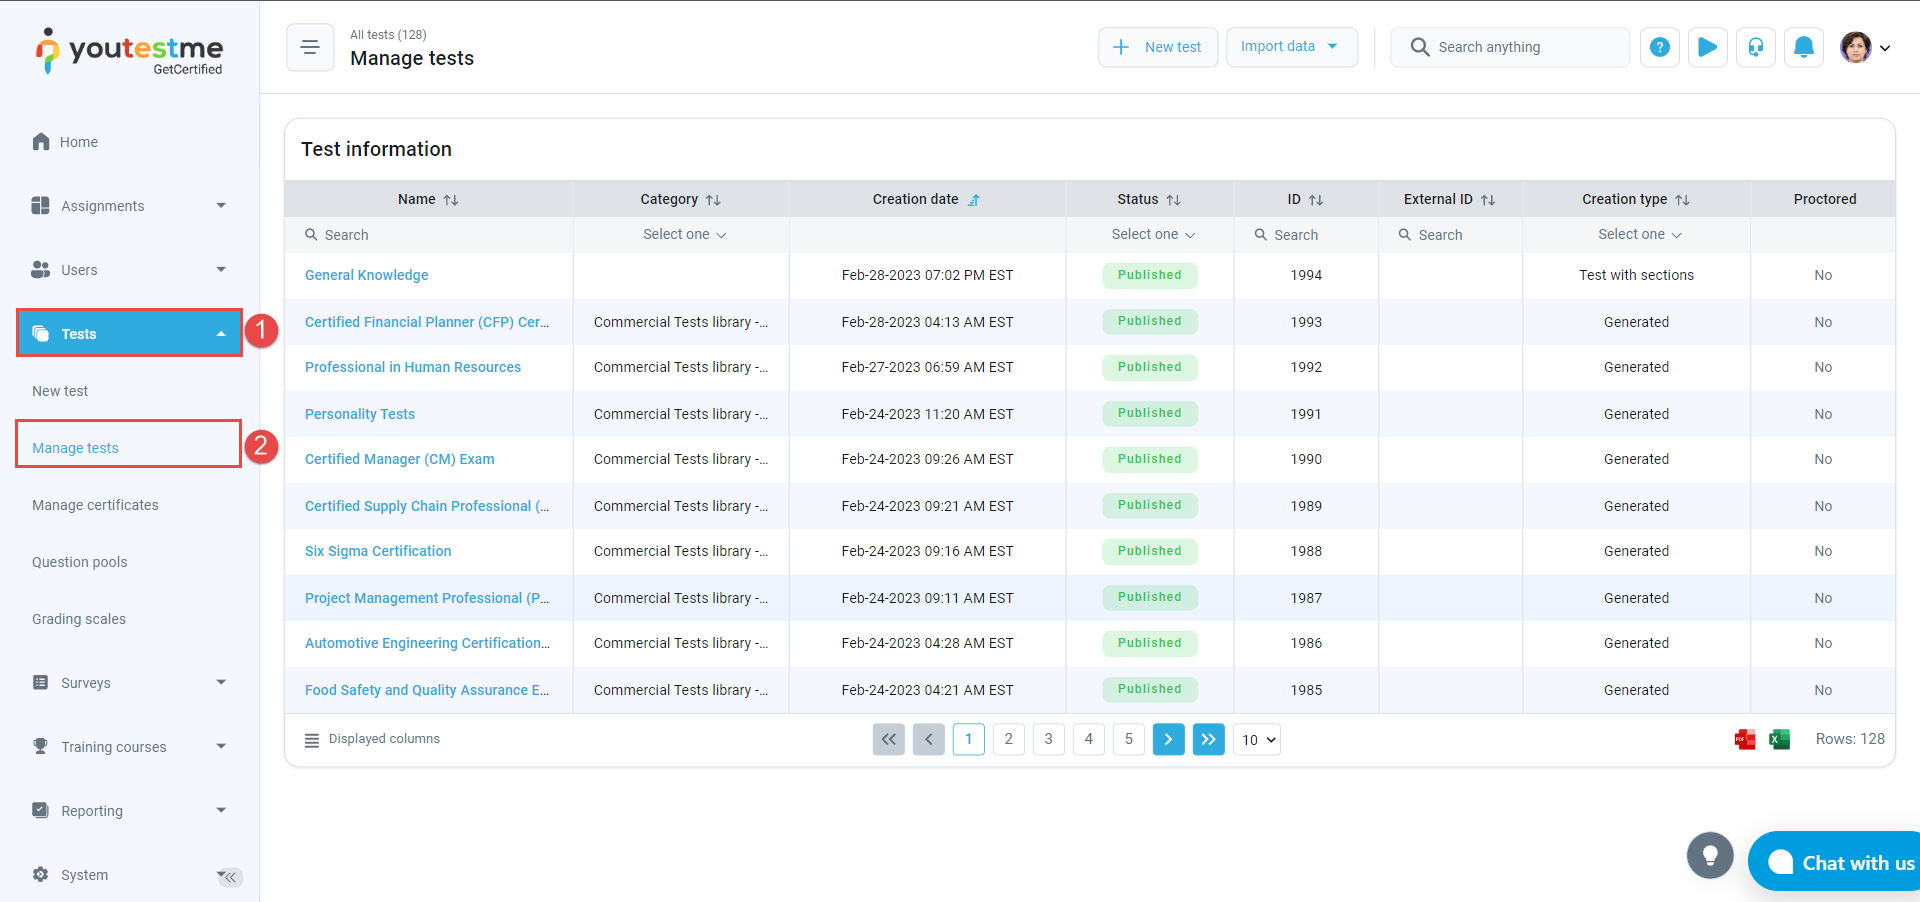
- Click on the “Tests” tab in the main menu and select “Manage tests” and choose the desired test.
- In the “Settings” tab.
- Navigate to the “Security settings” on the left-side menu.
- Check the “Enable proctoring by default” option.
- Define the “Proctoring configuration” that you want to use for the test.
- Click the “Save” button to save the proctoring settings.
 For video instructions on how to create a test proctored by Proctorio, you may watch this video.
For more related instructional materials, please see:
